Reusable Forms in Swiftui
How I make Reusable Forms Views for Apps in SwiftUI

I’ve been recently doing a lot of programming using Swift and I’m quite enjoying how intuitive it is to pick up. It also helps that SwiftUI generally produces good looking user interfaces with less effort than other things I’ve tried.
Forms play a crucial role in creating interactive user interfaces for collecting and managing user input. Developing reusable form components in SwiftUI not only streamlines the development process but also ensures a consistent user experience throughout the app. By creating modular, reusable form components, developers can reduce code duplication, enhance maintainability, and simplify the process of updating or extending the functionality of their applications. In this article, we’ll explore the process of building a reusable login form component using SwiftUI.
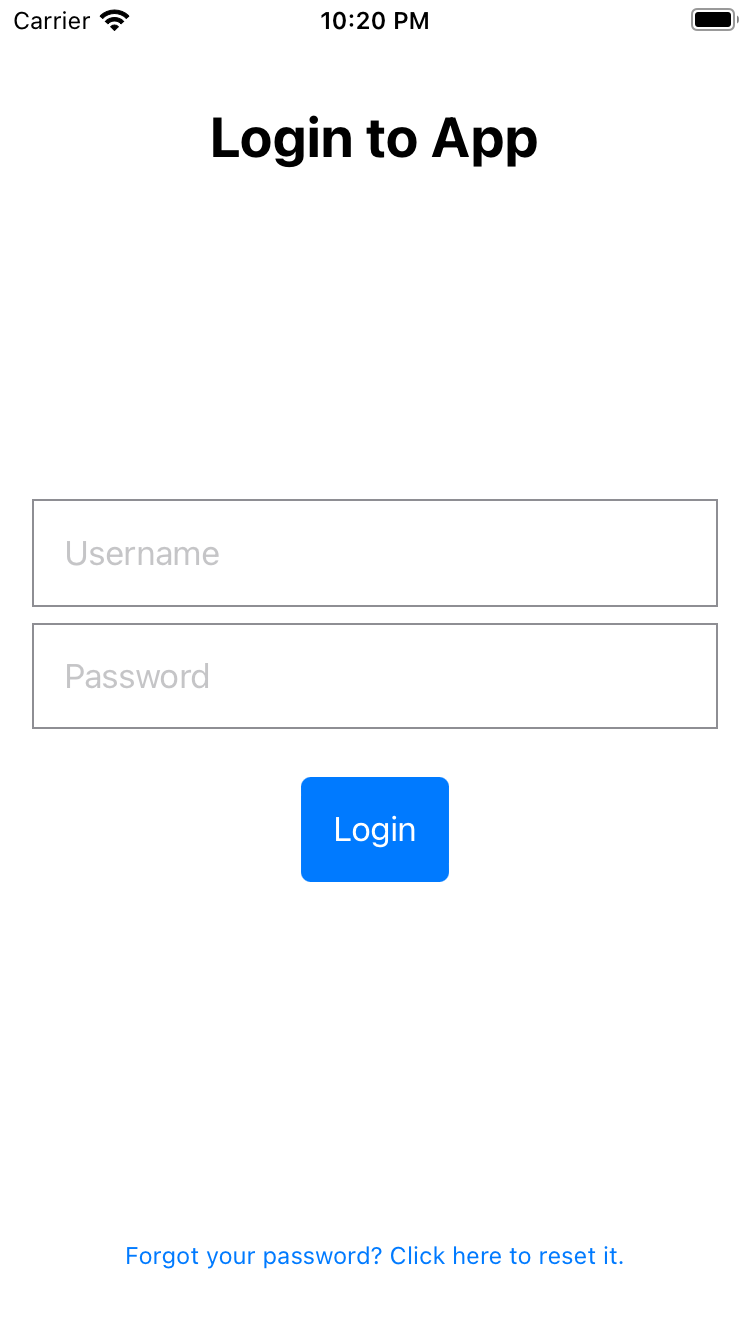
At the end of the article you should have a login form that looks like this:
First, the code
import SwiftUI

struct LoginForm: View {
    @State private var username: String = ""
    @State private var password: String = ""
    let onLoginButtonPress: ((String, String) -> Void)?
    let onResetPasswordPress: (() -> Void)?

    var body: some View {
        VStack {
            Text("Login to App")
                .font(.title.bold())
                .padding()
            Spacer()
            TextField("Username", text: $username)
                .padding()
                .autocapitalization(.none)
                .disableAutocorrection(true)
                .border(Color.gray, width: 1)

            SecureField("Password", text: $password)
                .padding()
                .border(Color.gray, width: 1)

            Button(action: {
                onLoginButtonPress?(username, password)
            }) {
                Text("Login")
                    .padding()
                    .background(Color.blue)
                    .foregroundColor(.white)
                    .cornerRadius(5)
            }
            .padding()

            Spacer()

            Button {
                onResetPasswordPress?()
            } label: {
                Text("Forgot your password? Click here to reset it.")
                    .font(.caption)
                    .padding()
            }
        }
        .padding()
    }
}

struct LoginForm_Previews: PreviewProvider {
    static var previews: some View {
        LoginForm(onLoginButtonPress: { userName, password in
            print("Login button tapped")
            print("Username is \(userName), password is \(password)")
        },
        onResetPasswordPress: {
            print("Reset password requested.")
        })
    }
}
The code block above shows a login form where you can enter your username and password and has a button to login and a button to reset your password. Let’s take a look at how it works.
Storing Username and Password States
We use private variables marked with @State to hold the username and password variables. In SwiftUI, @State is a property wrapper that manages the state of a value within a view. It provides local, mutable storage for simple values relevant to a specific view, allowing for mutability within an otherwise immutable view. @State also allows child views or controls to read and write the property’s value using bindings, which is particularly useful for user input controls like TextField and Toggle. When a @State property value changes, SwiftUI automatically re-renders the affected parts of the view hierarchy, ensuring that the view always reflects the current state of the data. It is important to use @State only with value types, like structs, for proper change tracking, while other property wrappers like @ObservedObject or @EnvironmentObject are more suitable for reference types or complex data models.
@State private var username: String = ""
@State private var password: String = ""
To bind these properties to the TextField and SecureField, respectively, you’ll use the $ symbol in front of the property names to create a binding:
TextField("Username", text: $username)
SecureField("Password", text: $password)
By binding @State variables to TextField and SecureField, you ensure that your view always reflects the current state of the data, and changes made by the user in the input controls are automatically captured and stored in the corresponding @State properties.
Closures for Form Actions
In the LoginForm code, onLoginButtonPress and onResetPasswordPress are closure parameters that are passed to the LoginForm view. These closures define custom behavior that will be executed when the login button and reset password button are pressed, respectively.
onLoginButtonPress: This closure takes two input parameters, a String for the username and a String for the password. It gets called when the user taps the “Login” button. You can define custom login functionality within this closure, such as authentication and navigation to the next screen.onResetPasswordPress: This closure does not take any input parameters. It gets called when the user taps the “Forgot your password? Click here to reset it.” button. You can define custom reset password functionality within this closure, such as navigating to a password reset screen or showing a reset password prompt.
By using these closure parameters, you can create a more flexible and reusable LoginForm component, as the specific functionality for handling login and password reset actions can be defined outside the LoginForm view, making it adaptable to various use cases within your app.
You may also have noticed that I’ve made the closure parameters optional by marking them with a ? symbol. By marking them as optional, you indicate that these closures can have a value (a function) or be nil.
I prefer and recommend optional closures because it allows you to use the LoginForm component in cases where you might not need to provide both closures. For example, you might want to display a LoginForm that only requires a login action and not the reset password functionality, or vice versa. In such cases, you can simply pass nil for the closure you don’t need, without having to modify the LoginForm component itself.
You might have scenarios where the behavior of the LoginForm component changes based on certain conditions. By making the closures optional, you can decide at runtime whether or not to provide a specific closure based on the current context or app state.
To safely call these optional closures, use the optional chaining syntax with the ?() operator:
onLoginButtonPress?(username, password)
onResetPasswordPress?()
This syntax ensures that the closure is only called if it has a non-nil value; otherwise, nothing happens, and the app continues to function without any issues.
Using the Form Component in Another View
Here’s how you’d use this form component in the main ContentView of your app as an example.
import SwiftUI

struct ContentView: View {
    var body: some View {
        NavigationView {
            LoginForm(onLoginButtonPress: { username, password in
                // Implement your custom login functionality here
                print("Login button tapped")
                print("Username: \(username), Password: \(password)")

                // For example, you might perform authentication and navigate to the next screen

            }, onResetPasswordPress: {
                // Implement your custom reset password functionality here
                print("Reset password requested.")

                // For example, you might navigate to a password reset screen or show a reset password prompt

            })
            .navigationBarTitle("Your App", displayMode: .large)
        }
    }
}
For onLoginButtonPress, we print the username and password when the login button is tapped. In a real-world scenario, you’d likely perform authentication here and navigate to the next screen upon successful login.
For onResetPasswordPress, we print a message indicating that a password reset has been requested. In practice, you might navigate to a password reset screen, show a password reset prompt, or perform any other relevant action.
Summary
In this article, we explored the creation of a reusable LoginForm component using SwiftUI. We learned about using @State for local, mutable storage and two-way data binding with user interface controls, such as TextField and SecureField. We also discussed the flexibility and adaptability of the LoginForm component through optional closure parameters for handling login and password reset actions. SwiftUI’s declarative approach and powerful features, such as property wrappers and bindings, make it easy and efficient to build modular and reusable components for user interfaces. As you continue to delve into SwiftUI, you’ll find that it greatly simplifies app development and promotes consistent user experiences across your applications. Keep exploring and expanding your SwiftUI knowledge, and you’ll be well-equipped to create fantastic apps that delight your users.
Ashwin Narayan
Robotics | Code | Photography
I am a Research Fellow at the National University of Singapore working with the Biorobotics research group